Use the official WireGuard app from the App Store.
Step 1. Install
Step 2. Add your configuration
From your Dashboard:
Choose your preferred location (for example: Amsterdam, Luxembourg, or Prague) and click Generate configuration
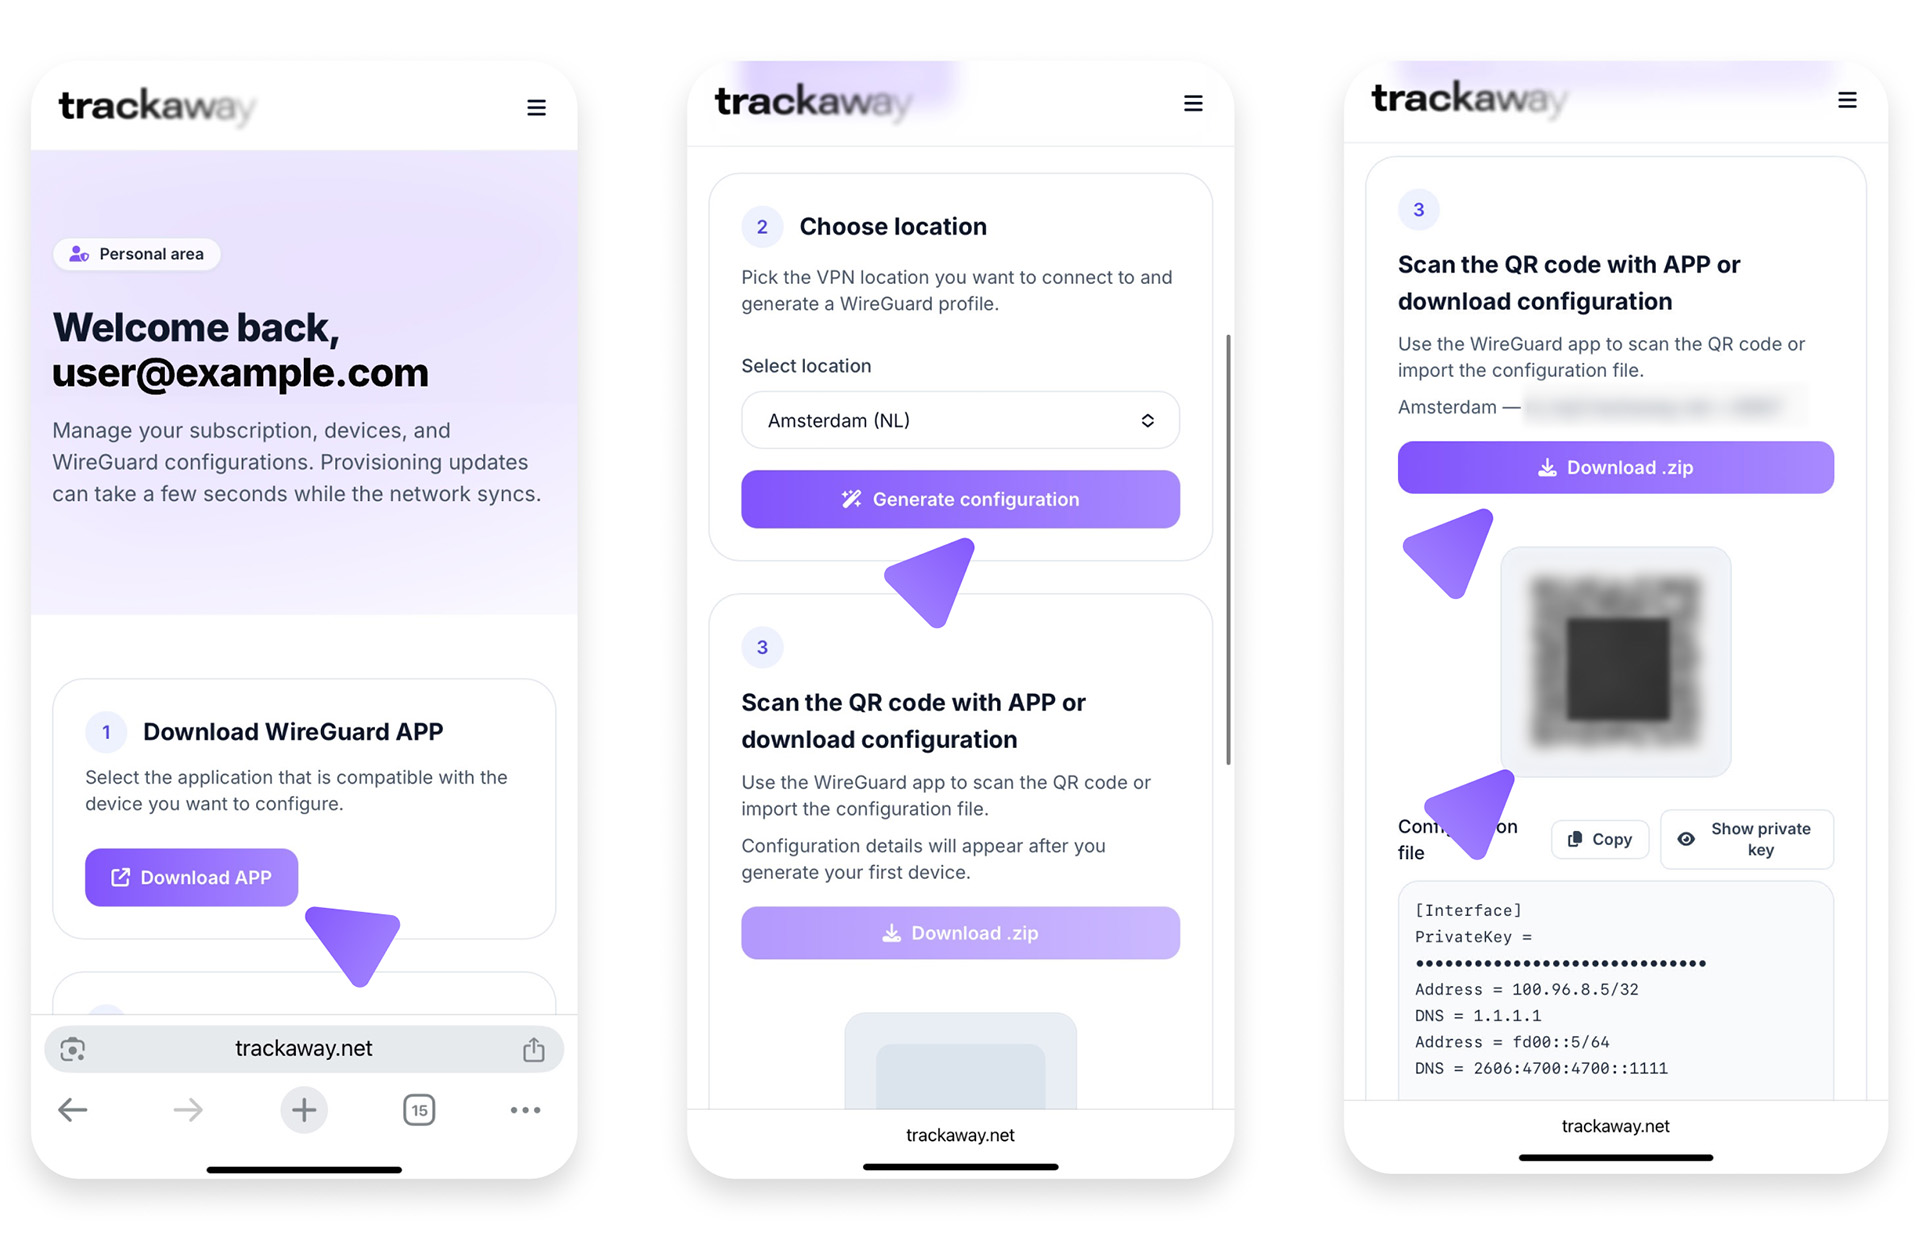
Step 3. Scan and activate
Depending on how many devices you have, there are two options:
Option A: Scan the QR Code (recommended)
If you have another device
- Open the WireGuard app.
- Tap Add a tunnel → Create from QR code.
- Scan the trackaway QR.
- When you create the tunnel for the first time, iOS will ask for permission to create a VPN configuration.
Tap Allow — this is a normal system request that lets the WireGuard app manage VPN connections securely. - Tap Activate.


Option B: Import the Configuration File
If you only have one device
- In your Dashboard, tap Download configuration (.zip).
- Safari will download the archive. When the download finishes, tap the Downloads icon (⬇️) in the toolbar.
- Tap the downloaded
.zipfile once — it will automatically unpack into a folder with your configuration inside. - Open the WireGuard app.
- Tap Add a tunnel → Create from file or archive.
- In the file picker, open the folder that was unzipped and select the
.zipor.conffile inside. - WireGuard will automatically import the configuration.
- Tap Activate to connect.
💡 If you don’t see the file in the picker, choose Browse → On My iPhone → Downloads, then locate the unzipped folder.
Step 4. Verify
Visit https://trackaway.net/ip — you should see your trackaway IP.